FANCY FOLD FIT FOR A KING
FLOATING BOOK FOLD EASEL CARD
To mark the occasion of King Charles III Coronation - I have created a Floating Book Fold Easel Card - which I think is a "fancy fold fit for a King". This idea is based upon a Suspended Book Fold card I spotted on Pinterest by Iced Images. I have adapted this version to sit upon an easel card.
You will need to cut:
10"x7" card and fold in half to create a 5"x7" card base
1 piece 5"x7" card
1 piece 5"x5" card
2 pieces 2"x6" card
Mats Plain paper
2 pieces 4 3/4" x 3 1/4" Back panel
2 pieces 4 3/4" x 2 1/4" Square panel
6 pieces 1 3/4" x 1 1/4" Two strips
1 piece 4 3/4" x 6 3/4" Easel card base
Mats Patterned paper
2 pieces 4 1/2" x 3" Back panel
2 pieces 4 1/2" x 2" Square panel
6 pieces 1 1/2" x 1" Two strips
1 piece 4 1/2" x 6 1/2" Easel card base
Begin by marking the middle of the 5"7" Back base. Top at 3 1/2" and side 2 1/2". Make the lines clear to the eye.
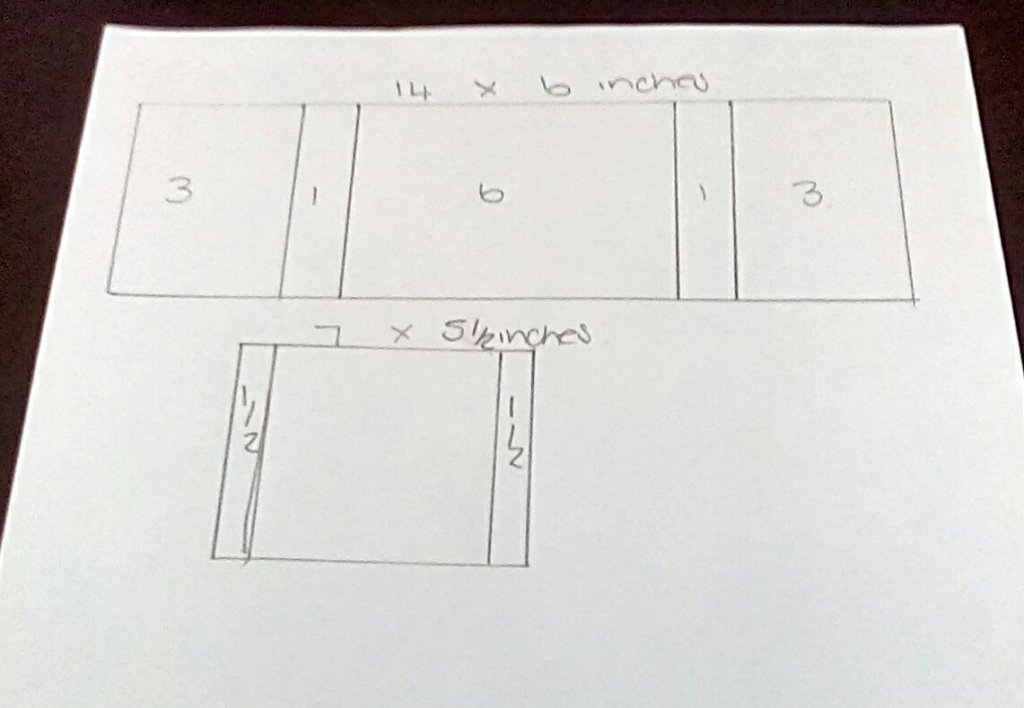
Score the two strips at 1 1/2" 3". and 4 1/2". You may find it easier to number the panels but this is not strictly necessary.
Score the 5"x5" Square panel vertically down the centre at 2 1/2"
Mat and layer the Back Panel plain and patterned papers
Adhere them to the Back Panel centrally. The middle markings will help you to line up the mats and to leave a small gap.
Line up the first of the two strips with the centre mark on the Back panel. Add glue to panel 5 and secure in place.
Line up the second strip with the first strip, glue panel 5 to the back panel, and secure in place. The pencil lines are now hidden.
Mat and layer all six plain and pattern pieces, Then adhere to Panels 1/6/7.
The strips will then look like this.
Mat and layer the plain and patterned papers to the Square 5"x5" panel.
Fold the Square in half then adhere to the strip by lining up the fold with strip panel 8.
Repeat this process on the adjacent side.
Lift the strips away from the base and leave to dry like this.
Mat and layer the plain and patterned papers to the base of the Easel card. Score a fold line on the front of the card horizontally at 2 1/2".
Add plenty of glue to the lower half of the easel card and secure the lower the half of the Back panel onto it.
Mark where the easel card naturally wants to sit. Then add a strip of card or a small embellishment to create a stopping point.
The Fancy Fold Card Base is now complete.
And ready to decorate.
The book fold floats independently of the card base. Then lies flat within a 5"x7" envelope
Of course, this card can be made as a keepsake to mark today.
Alternatively, with different papers it can be turned into something more historical.
Or simply use your favourite papers and dies to create a floral version.
You are welcome to try this card for the #weeklypromptfancyfold challenge. Alternatively, revisit one of the many cards we have shared instructions for in our Wednesday Wonders. Many of the Group Experts have written blog posts or made video tutorials which are easy to follow. Remember to say where your inspiration came from.
Happy crafting and Coronation Day.
Love Elisabeth xx


No comments:
Post a Comment