The first fancy fold
card I made many years ago, when I'd only ever made single fold cards, was a
Joy Fold card. I've made many cards using this fold over the years for
all different sorts of occasions and it's a really easy card to make. Here
are the instructions for how I make mine. My finished card measures
7" x 5" when folded. I used papers from a 'Classic Christmas' 12 x 12 paper pad from The Works. The reindeer is a Memory Box 'Leaping Deer' die cut.

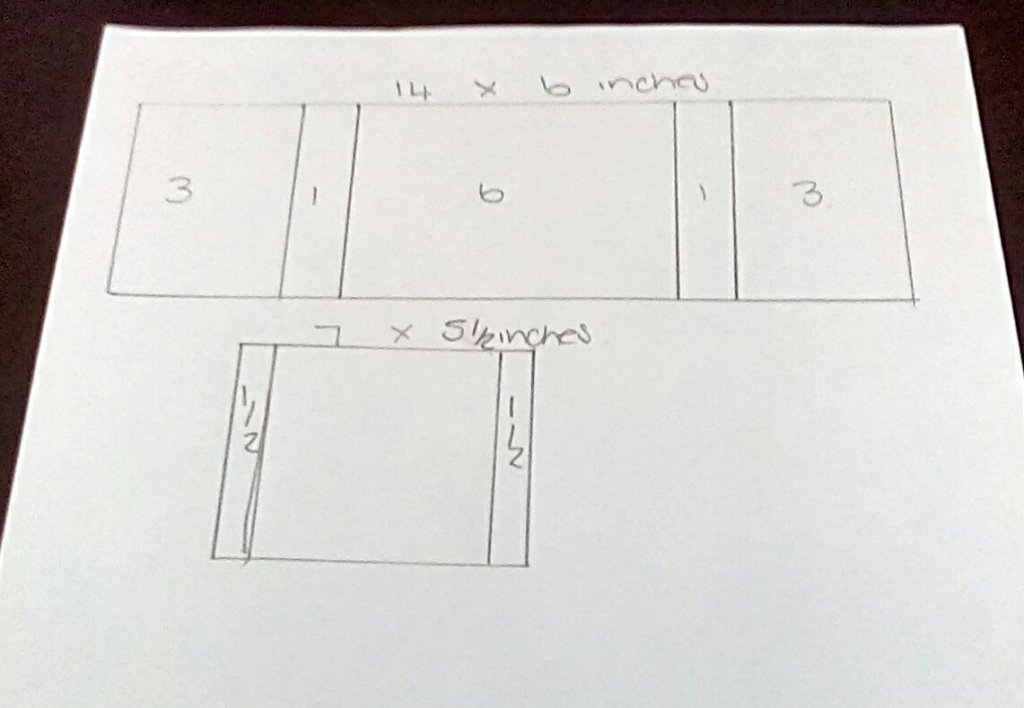
1. Start with an A4 sheet of card. Cut at 5" down the length of the card. The largest piece will be your base card.
2. Score this piece at 7" and fold along the scoreline. Save the narrower piece for later.
3. Cut one mat 1/4" smaller than the front panel and one mat 1/4" smaller than the inside back panel. Cut two contrasting pieces of patterned paper 1/4" smaller than the mats.
4. Attach the layered patterned paper to the card as shown in the photo.
5. Make the topper for the front of your card. I've used a die cut and gems for mine and it measures 3" x 3", but you could use a ready made topper or a stamped image or sentiment.
6. Trim the width of the leftover strip of card to 1/4" wider than the height of the topper. If it's not wide enough, you will need to cut a new strip from a second piece of A4 card. The scoring on the strip of card depends on how wide your topper is. As my layered topper was 3" wide, I scored at 3 1/4" to allow a small white border. Attach the topper to the strip ensuring that the fold is on the right hand side.

7. Keep this card folded and cut off the end so that when folded it measures 5" long.
8. Add a layered piece of white card as shown, this will be where the message will be written. I've attached a punched Christmas tree for added interest.
9. Attach the smaller card inside the larger one. I've put mine right in the middle, but move it slightly left or right to see which position looks best when the card is closed.
10. A sentiment can be added to the front. I like to be able to keep my card closed, so I use a brad to do this. When the card is closed, put a pencil mark on the card front, just to the left of bottom left-hand corner of the topper. Make a small hole just through the card front, through the pencil mark. This can be done with a paper piercer, but I find it easier to use a punch which makes a very small hole. Push the brad through the card front and secure it. (Depending on the thickness of the brad, the card may need a large letter stamp if posted.)

11. The bottom corner of the topper should just slip in behind the brad.
The card can be easily opened to be displayed.


Beautiful card and great instructions, thank you Liz. I'll be having a go at this later 😁
ReplyDeleteThank you. Looking forward to seeing your finished card on our Facebook page. xx
DeleteBeautiful card and another great blog post Liz 💕
ReplyDeleteThanks, Gail. xx
Delete