As you may know I do love a good tag so today have done a little fold out tag tutorial for you, perfect for gift cards, little notes or an alternative to a card.
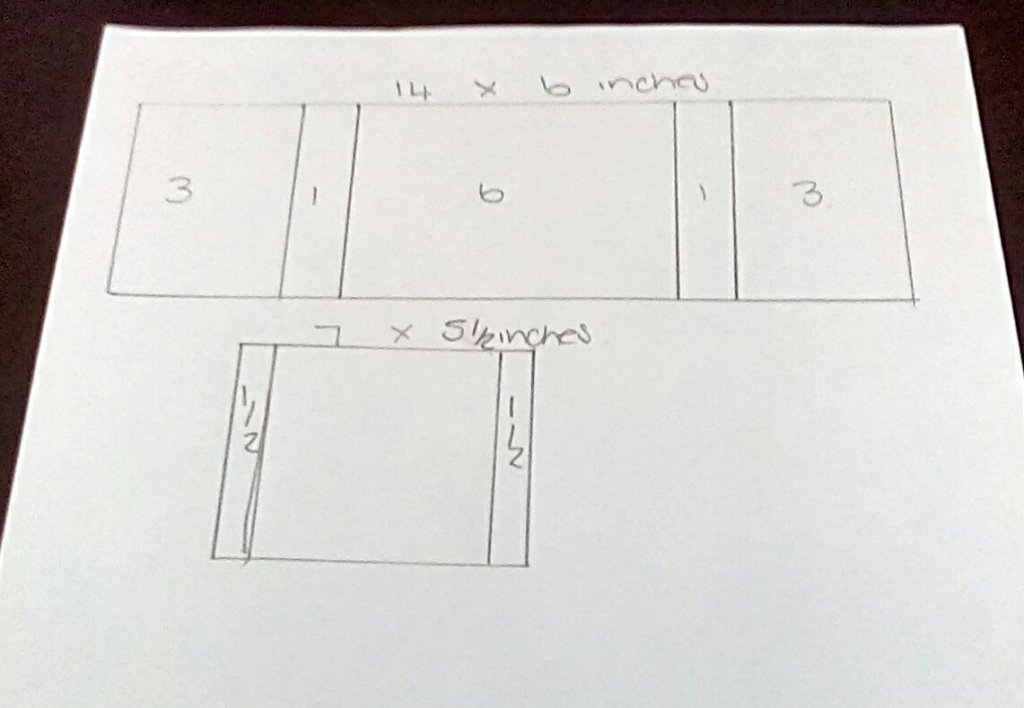
My folded tags measure 3"x6" but you can adapt this to make tags as small or large as you like. I cut a 9 3/8" x 6" sheet of card then scored along the longest edge at 3", 3 2/8", 6 2/8" and 6 3/8".
To cut the tag shape I marked 1/2" in and 1/2" down from each top corner then cut between these to remove the corners.
I then used a chestnut brown ink around the tags front and back to give it a more vintage look.
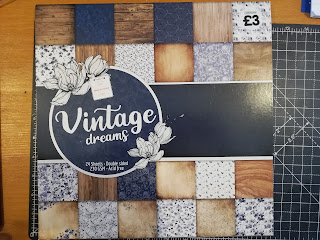
I then cut patterned paper from my vintage dreams paperpad into 5 tags measuring 2 3/4" x 5 3/4", 3 Small tags measuring 1 1/2" x 2 3/4" and a 1 1/2" x 6" strip of paper.
I used 2 of the large tags to decorate the inside of the folded tag. For the strip I layed out the small tags against the back of the paper and marked between the tags before gluing along the marked lines and sticking into the middle inside tag to make 3 slots for the little tags.
I attached a ribbon to tie my tag so I glued this into place then secured with double sided tape before decorating the front and back covers with the other large tags.
Look forward to seeing all your crafty makes 😊


Beautiful,Thank you for the instructions 😊😊
ReplyDeleteSuper make. Looks really good with these papers too x
ReplyDelete