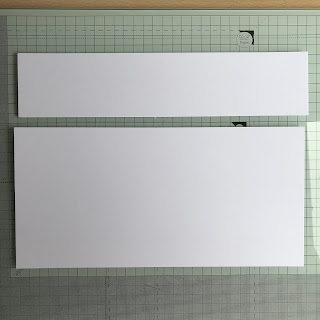
To make this, start with a piece of card 29.7 x 14.5cm. (A piece of A4 is ideal as you only need to cut at 14.5cm)
Score on the long side at 7, 14, 21 & 28cm. Burnish the folds so that the card folds easily into a box shape. This will leave a flap which will secure the box. Do not glue at this stage.
Decorate all four faces with your choice of papers, but remember that one face will be where you place your stamped sentiment and written massage, so needs to be relatively plain (or leave blank).
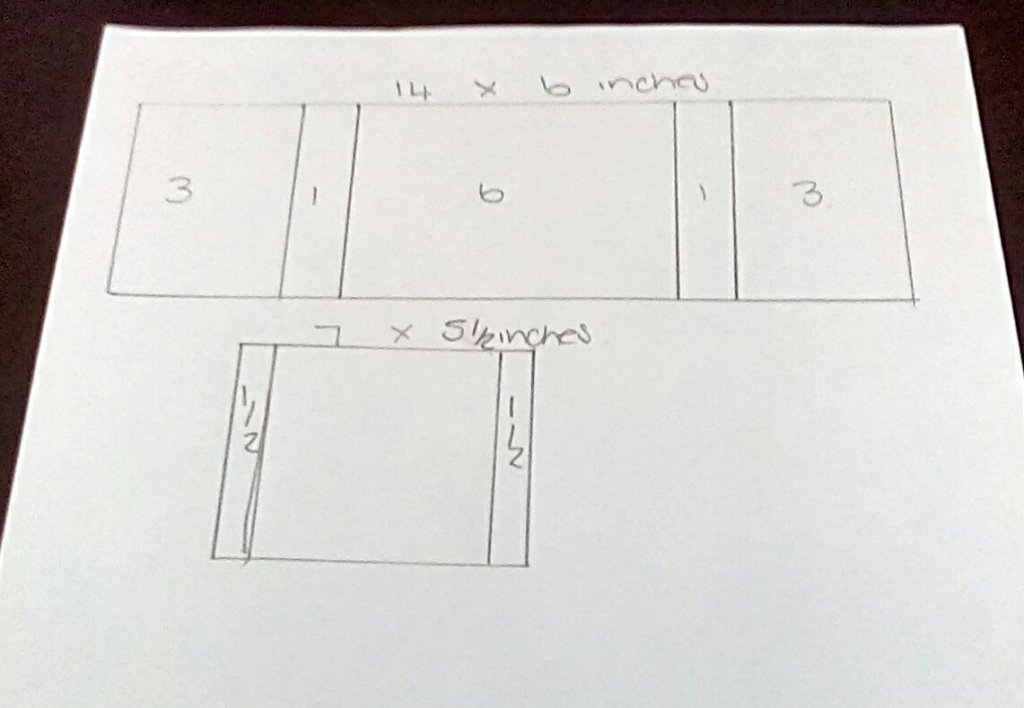
I have cut my papers at 14 x 6.5cm, so that I have a border of 2.5mm all the way around. You will need 6 pieces of paper so that the two inside faces you see will also be decorated.
Glue the flap, fold, and stick to the inside of the card. I find it easiest to have the card flat as shown above, glue the outer edge of the flap and then fold the left two panels of the card over to stick accurately. I used Cosmic Shimmer Acrylic Glue here, but double sided tape would also be good - if using glue, it should ideally be a quick drying one. At this stage, your box should fold flat.
For the topper/decoration, I have cut out a circle in white card, then layered with a circle of the patterned paper. The Poinsettia is made from Vellum, using Lisa Horton’s Poinsettia 3D Embossing Folder and Die. Make sure that your topper is no wider than, say, 13cm wide, otherwise it will protrude further than the edge of your folded card.
Making your card with these dimensions, it will fit into a 6x 6” envelope, but you can alter the height or width of your base card if you would like it to be taller or wider.
The card at the back is 7 x 5”, with each of the four panels being 2.5”.


No comments:
Post a Comment